Manage program settings and your API key
Edit your program's terms after launch and find, copy, or regenerate the per-program API key that authenticates your tracking integration.
Last updated Oct 15, 2026
Everything you configured in the setup wizard stays editable after launch, and Settings also hold the API key that every server-side tracking call authenticates with. This guide shows where each setting lives, how to change terms safely, and how to rotate the key with the shortest possible gap in tracking.
What lives in Settings
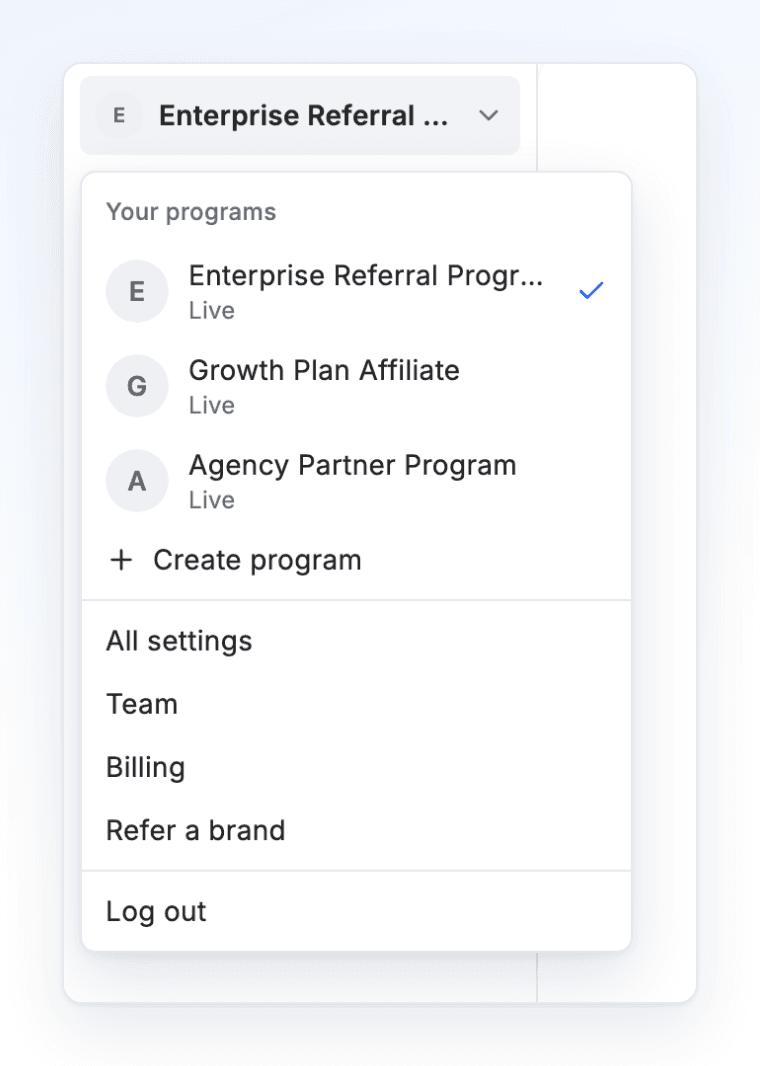
Settings belong to the program selected in the program menu. Open the program menu (your program's name at the top of the left menu, or in the top bar on smaller screens) and choose All settings. Everything on the Settings pages applies to that program.
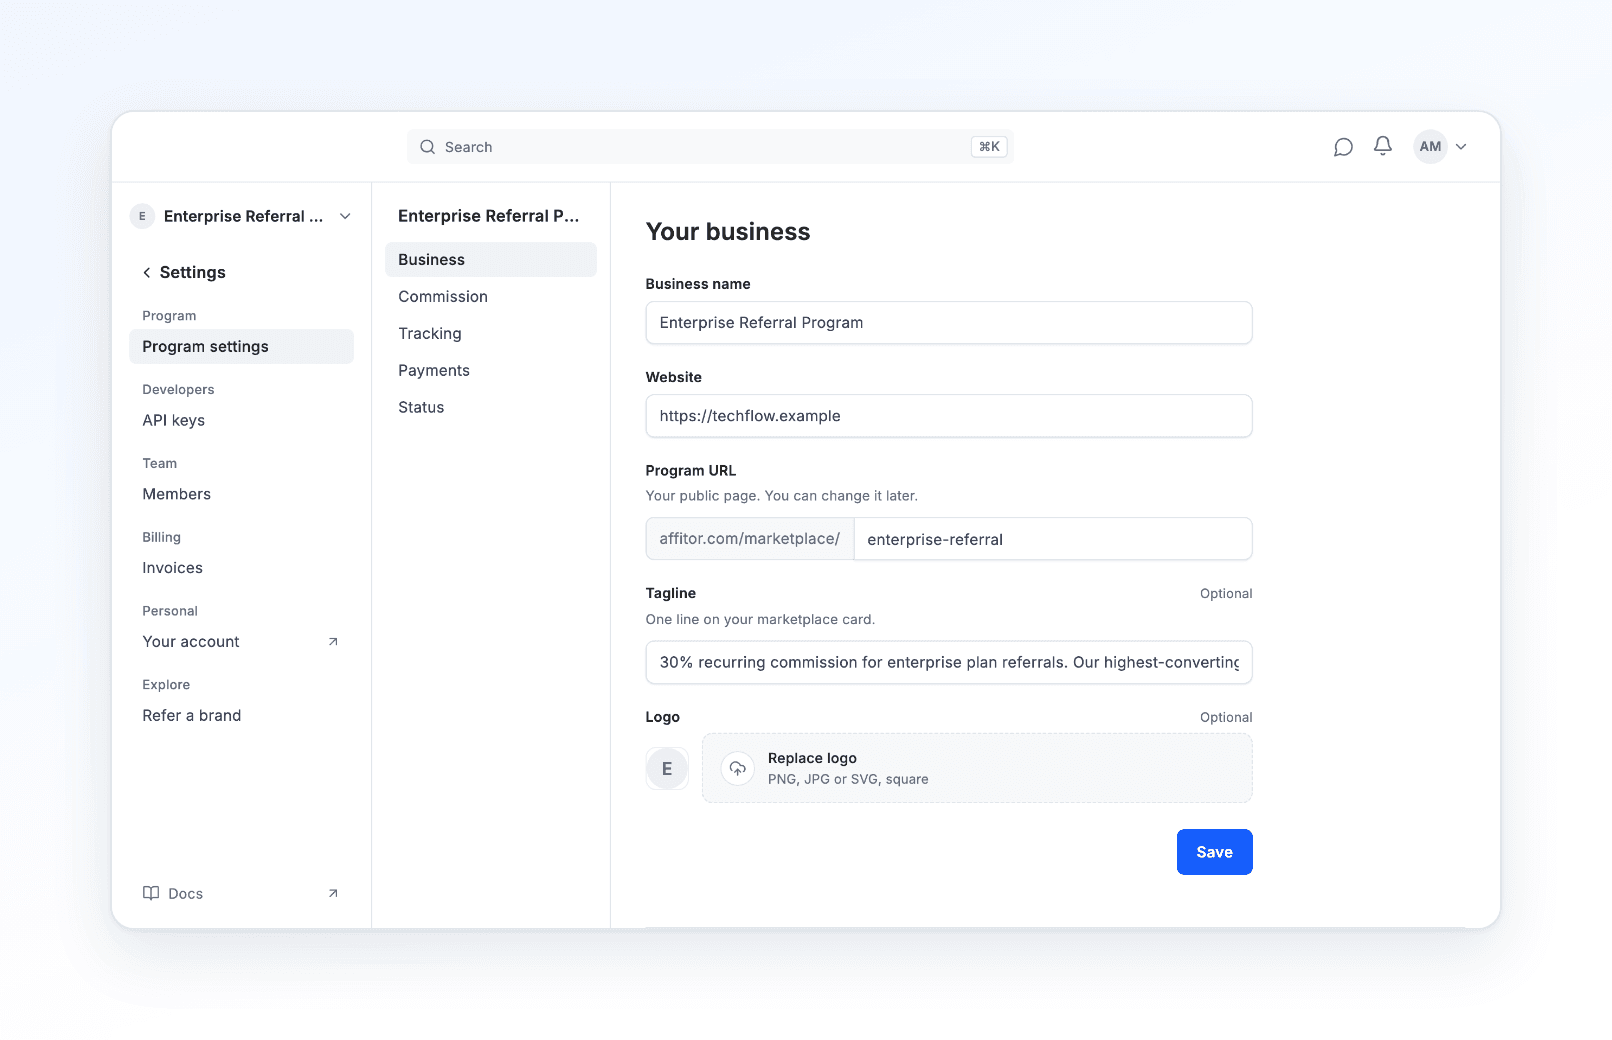
Program settings are the same five steps as setup, one page each:
| Page | What you edit there |
|---|---|
| Business | Business name, website, program URL (your public page), tagline and logo, with a Branding section for how your program page looks in the marketplace |
| Commission | Commission type, rate and duration, attribution window, hold period, and how new partners join (Approve all or Review each) |
| Tracking | Click and signup (lead) tracking on your website |
| Payments | How sales are counted: Stripe connected, or sales sent from your server |
| Go live (Status once the program is live) | What the program still needs to go live, and its live state |
The rest of the Settings menu:
| Group | Item | What it is |
|---|---|---|
| Developers | API keys | The per-program secret key for server-side tracking calls, and the line for an AI coding agent |
| Team | Members | Who can work on the program |
| Billing | Invoices | Platform-fee invoices |
| Personal | Your account | Your own profile and sign-in, shared with the partner side |
| Explore | Refer a brand | Your link for referring brands to Affitor |
Step 1: Edit program terms after launch
Programs evolve — rates get adjusted, branding gets refreshed, approval policies tighten or loosen. None of this requires recreating the program.
- In the program menu, choose All settings.
- Open the page you want to change: Commission for the rate, hold period and how new partners join, or Business for the business name, website, logo and branding.
- Make the change and save. On Commission, once terms are saved, select Set new terms before you change them.
The Commission page sets your program-wide default. To pay different rates to different sets of partners, organize partners into groups — each group carries its own commission policy.
Step 2: Find your API key
Every server-side call to the tracking API — sales, refunds, and server-mode leads — authenticates with a Bearer token that is unique to your program. Integrations, SDKs, the CLI's tracking setup, and AI agents all use this same key. CLI commands that create or list programs act as your account instead, and authenticate with your CLI login.
- In the program menu, choose All settings.
- Under Developers, select API keys.
The dashboard displays the key masked, and no read returns the full value. It is revealed exactly once — in the response to an owner's Generate or Regenerate action on the API keys page. If you no longer have the current key stored anywhere, you can't recover it from the dashboard; regenerate it instead (Step 3).
Store the key as a server-side environment variable:
# .env — server-side only. Never ship this key to the browser.
AFFITOR_API_KEY=YOUR_PROGRAM_API_KEYThe API keys page also gives you a one-line instruction for an AI coding agent, under Set up with your AI agent. It points the agent at skill.md with your program ID and key variable, so the agent can install tracking for you — see Agent Integration.
Step 3: Regenerate the key
Rotate the key if it may have leaked, if it was committed to a repository, or as routine hygiene when a team member with key access leaves.
Only a workspace owner can regenerate a program key. A member who tries is refused, so ask an owner to run it and to hand you the new value through your secret manager.
The two keys never overlap. Regenerating replaces the key in place, and you receive the new value only in the regenerate response, so you cannot deploy it in advance. Between the regenerate and the redeploy, every integration still sending the old key gets 401 responses. Copy the new value before you close the reveal — it is shown one time only.
- Line up every place
AFFITOR_API_KEYis stored — deployment environment, secret manager, CI — so you can update them straight away. - In Settings → API keys, regenerate the key. The old key stops working at that moment.
- Copy the new key from the one-time reveal, update those places, and redeploy.
Verify it worked
Send a test-mode sale with the new key. It authenticates exactly like a real sale but creates no commission and no platform fee.
Request — POST /api/v1/track/sale:
curl -X POST https://api.affitor.com/api/v1/track/sale \
  -H "Authorization: Bearer YOUR_PROGRAM_API_KEY" \
  -H "Content-Type: application/json" \
  -d '{
    "additional_data": { "test_mode": true },
    "amount_cents": 9999,
    "currency": "USD",
    "sale_type": "payment"
  }'
Expected response:
{
  "success": true,
  "message": "Test sale event tracked successfully",
  "data": {
    "eventId": 789,
    "programId": 1,
    "test_mode": true
  }
}POST /api/v1/track/salewith the new key returns200and"success": true— the key authenticates- If you regenerated, the same request with the old key now returns
401— rotation is complete
- The test event appears under your program's tracking events, flagged as a test — no commission is created
- On a
401, readerror.codefirst.api_key_rotation_requiredmeans the key passed its rotation deadline — regenerate it and deploy the new value, because copying the same key again will not bring it back. Any other401means the header is malformed or the key matches no program — check theAuthorization: Bearerheader, check your env variable for trailing whitespace, and compare it against the full value you stored in your secret manager. If you no longer hold that value, ask an owner to regenerate the key (Step 3), copy it from the reveal, then update and redeploy - See the error reference for every
401cause and fix